


We recommend you do it yourself as the machine is easy to set up. You can follow the steps on the Installation Guide or watch the coaching video If you need a chargeable installation service, please call the local helpline.
SUPPORT
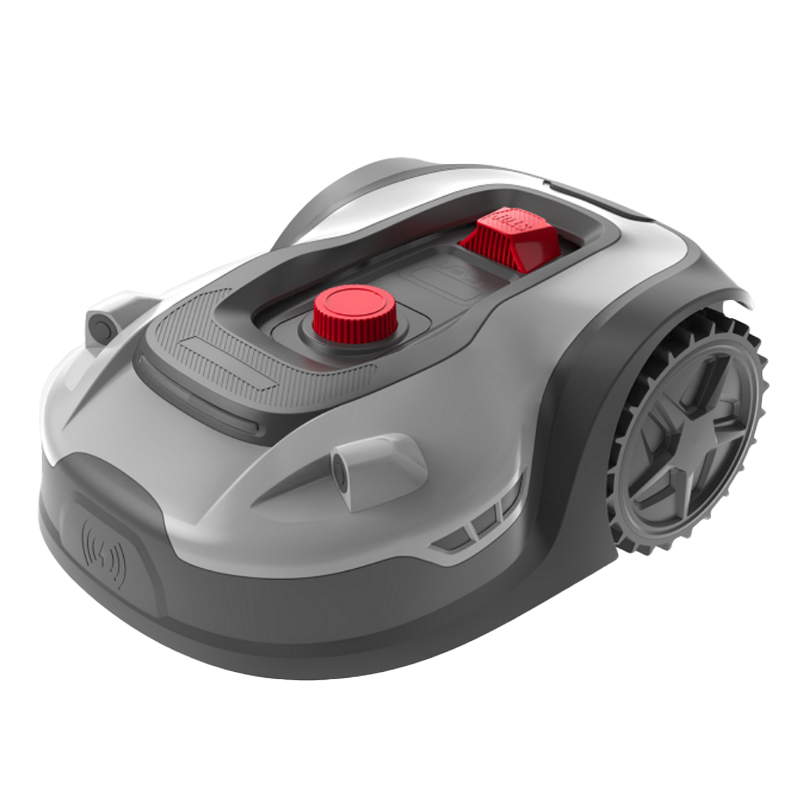
Check our FAQs or get in touch.
APPLICABILITY & PERFORMANCE
- Q:What is the maximum recommended height of grass the robotic lawn mower should be used on?
- A:
The cutting system is designed to manage a maximum grass height of 100 mm. The height of cut can be adjusted to between 20 and 60 mm. If the grass is longer than 100 mm it is recommended to use a conventional lawnmower first in order to reduce the grass length to within the maximum recommended level.
- Q:what is the maximum wire length for using the robotic lawn mower?
- A:
For a 500㎡ robot, the maximum wire length is 300m.
- Q:What is the suitable area for the robotic lawnmower?
- A:
The most suitable garden area for our robotic lawnmower is 500 ㎡. If the garden area is too small, such as 200-300 ㎡, some areas may be missed. If the area is too large, more than 800 ㎡, there may be signal loss problems.
- Q:How efficient is the robotic lawnmower?
- A:
Cutter diameter x robot walking speed x Efficient of the robot = robotic lawnmower cutting area pro hour, for our robot:
0.18m x 21m/min x 60min x 0.2 = 45 m2
- Q:As the mower doesn’t have a grass box, what happens to the grass that has been cut?
- A:
The mower’s cutting blades are designed to cut the grass into small pieces (3-5 mm). These pieces fall down to the lawn’s base and gradually decompose, in doing so fertilising the lawn with nutrients.
SET-UP & INSTALLATION
- Q:Do I need to bury the perimeter wire?
- A:
You don’t have to bury the perimeter wire as it is designed to be installed on the surface of the ground. Over time, grass growth will naturally bury the wire. If the customer later wants to use a scarifier or lawn aerator, the wire can be laid underground. Since most scarifiers do not exceed a working depth of 1 cm, we recommend laying the wire about 2 cm deeper. A depth of 5 cm must not be exceeded so that the wire can be recognized with sufficient certainty.
- Q:Why does the perimeter wire have to be laid 30-35 cm from the outer border of the lawn?
- A:
The robotic lawn mower needs a distance of 30 to 35 cm to maneuver to the edge of the lawn. The robot cuts right up to the edge of the lawn marked by the boundary wire. The knives cut over the perimeter wire with half their cutting width, so that a strip of 20 to 22 cm remains uncut at the edge of the lawn. This area should be maintained with a trimmer.
Note: To prevent property damage and personal injury, standards stipulate that the rotating blades of robotic lawnmowers must not reach the edge of the protective cover. For this reason, the robotic mower is not able to cut the lawn close to the edge up to walls, fences and lawn edges.
- Q:How is the robotic lawnmower installed?
- A:
The installation of the device is very simple and, depending on the type and complexity of the lawn, can be completed in 1-2 hours. Installation takes place in three phases: positioning the charging station, laying the perimeter wire and activating the mower for the first time. To see how to install an robot, please visit www.sk-robtic.com MACHINE INSTALLATION INSTRUCTIONS
- Q:What do I do with ponds, flower beds or trees?
- A:
The outer boundaries of these areas must be marked with perimeter wire. This is done by laying boundary wire on the edge of the area to be mowed, keeping a distance of 30 cm around obstacles. The wire is then returned to the outer edge of the lawn. When laying a wire from the outer border of the area to be mowed in a loop around a flower bed or around a tree, the wire must run no more than 5mm away from the other wire on the way back to the outer border. Note 1: The distance between the flower beds / trees and the perimeter wire must be 30 cm. In the case of ponds or steep slopes, this safety distance should be increased to 40 cm. Note 2: The distance between wires marking various objects within the lawn must be at least 80 cm.
- Q:How to position the charging station?
- A:
The charging station is ideally placed on the edge of the area to be mowed. The charging station needs to be placed clockwise (because the robot returns to the charging station counterclockwise along the wire). Please make sure that the floor under the charging station is level. The boundary wire must be at least 1 m straight on both sides - in front of and behind - the charging station, like how an airplane must align itself to the runway. This enables efficient docking when returning to the charging station from anywhere on the lawn.
- Q:How to turn on the robot for the first time?
- A:
The default password of the robot is 0000. When the robot starts to work for the first time, it will walk around the boundary wire to measure the length of the wire.
- Q:How to set up a schedule for mowing?
- A:
The default working time of the robot are from 9 am to 15 am from Monday to Friday, with trimming on Tuesday and Friday. If you want to change the working time through the display, you can only set the daily working hours and start cutting time.
By long pressing “ok” for 3 seconds, you can change the daily working hours. By pressing “ok” and “start” at the same time for 3 seconds, you can change the daily start cutting time.
We recommend changing the working hours through our app. If you set the schedule through the app, you can arrange it arbitrarily, that is, you can set the working day you want the robot to cut, or you can choose the working day of the robot to cut edges.
OPERATION & PERFORMANCE
- Q:Can the robotic lawnmower cut the grass in rainy conditions?
- A:
Yes, although it is better for the lawn to be cut in dry conditions. In rainy days, the robot is prone to skidding, the wheels are prone to get stuck in the soil, and the robot becomes very dirty. You can use the rain delay function in the app to prevent the robot from working on rainy days.
- Q:Am I still able to rake or verticut the lawn?
- A:
To avoid causing damage to the perimeter wire, do not verticut or rake the area where it is positioned.
- Q:Is there a way to force the robot to edge cut?
- A:
Not currently available, but we are preparing to add this feature.
- Q:Can the robotic lawnmower work in very hot / cold conditions?
- A:
The robot works between + 5 ° C and + 45 ° C. If the temperature is outside this range, “E10” will show on the display. The mower does not leave the charging station. If the robot is currently working, it will return to the charging station. If the temperature is lower than -5° C, the robot will shut down on the charging station. If the battery is deeply discharged and the mower temperature is outside the acceptable range, the mower will not charge or activate. In such cases, please move the mower to another location so that the mower temperature returns to normal. The mower is then charged and can be used again.
SAFETY, SECURITY & PROTECTION
- Q:Am I able to change the settings to make the alarm louder?
- A:
This is currently not possible.
- Q:What happens if I forget my PIN code?
- A:
If you forget the password, You can feed it back to the factory through app, or contact the after-sales service center of the local seller
- Q:"Lock" appears on the display, what should I do?
- A:
The lock appears when you have entered the wrong password 10 times continuously.
You can enter the password again after 10 minutes. But you must keep the robot turned on, if you shut it down when "lock" is displayed, when you next time turn it on, it will also show "lock". This is an anti-theft method to prevent from others trying to shut it down and re-enter the password after entering the wrong password.
- Q:How do I change the PIN?
- A:
Hold the "START" and "HOME" buttons at the same time pressed for at least 3 seconds. Then you first need to enter the old password, the second time you can enter your new password.
Diagnostics
- Q:How to extract the log file?
- A:
Please always make sure you use an empty, FAT32 formatted, 2/4/8GB USB pen drive and follow the steps below:
1. Turn off the robot. Remove the battery cover.
2. Plug the USB drive into the USB port on the back of the mower.
3. Turn ON the mower.
4. When you read “USB” on your robot’s display, remove the USB drive
5. Unplug the USB drive from the mower.
6. In the USB drive you’ll find the LOG_xxxx.txt file
If your robot is connected to Wi-Fi, then you don’t need to do this, you can see the log directly from the APP.
Instruction PDF
 DOWNLOA
Exploded view
DOWNLOA DOWNLOA DOWNLOA DOWNLOA DOWNLOA DOWNLOA DOWNLOA DOWNLOA DOWNLOA DOWNLOA

